
How To Set Up Unlocator VPN "IPsec" Manually on macOS
- 1
-
First, find your Unlocator VPN account credentials
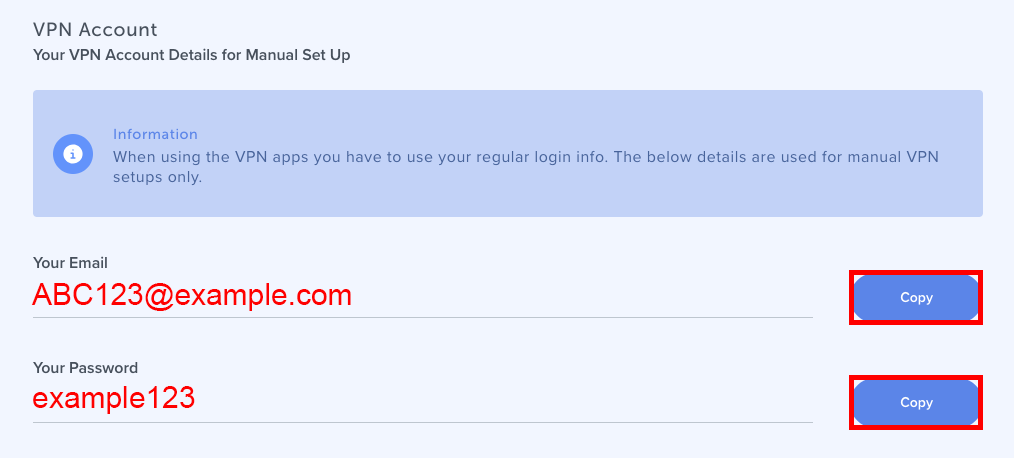
In order to set up a manual VPN connection, you need to use a server address, and your username and password found in your Unlocator account under the VPN tab.
You can locate this page by following these steps:- Go to My Account
- Locate the VPN tab in the bottom-left corner of the page
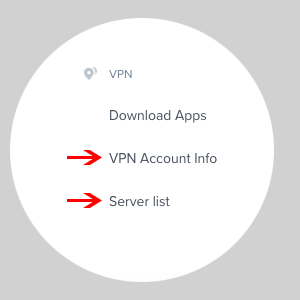
-
To view your Email and Password: Choose VPN Account Info
-
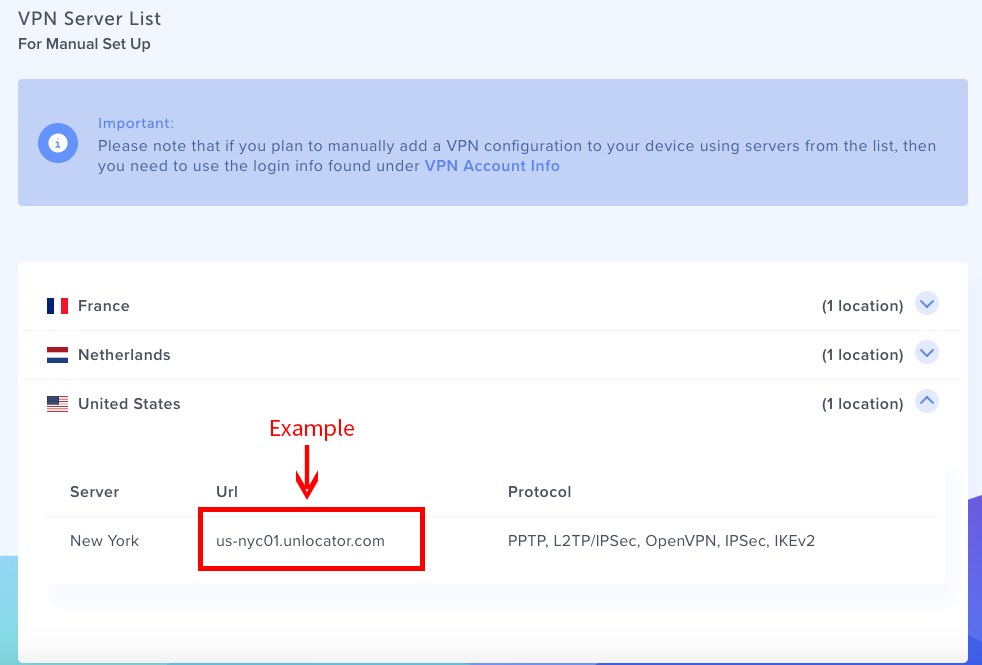
To view the server addresses: Choose Servers List
- 2
-
Click on the Apple Menu in the upper left corner and select System Preferences.

- 3
-
Choose Network.

- 4
-
Click on + to add a new connection.

- 5
-
Enter the following details:
- Interface: Select VPN.
- VPN Type: Select Cisco IPSec.
- Service Name: Enter UnlocatorVPN, or any name of your choosing.
- Click Create.

- 6
-
Now enter the Server Address, Account Name, and Password as follows:
- Server Address: enter the hostname of the Unlocator server you wish to connect to, Server hostname list can be found here: servers list
- Account Name: enter your Unlocator account username. See step 1
- Password: enter your UnlocatorVPN password. See step 1

- 7
-
Click on Authentication Settings, and input unlocator for Shared Secret, then click OK.

- 8
-
Click Apply, then Connect.

- 9
-
Now you are connected!


You might want to keep these pages open so you could easily copy the info to be used in step 6 and 7.


