How to Set Up Unlocator VPN "OpenVPN" Manually on Ubuntu Linux
1
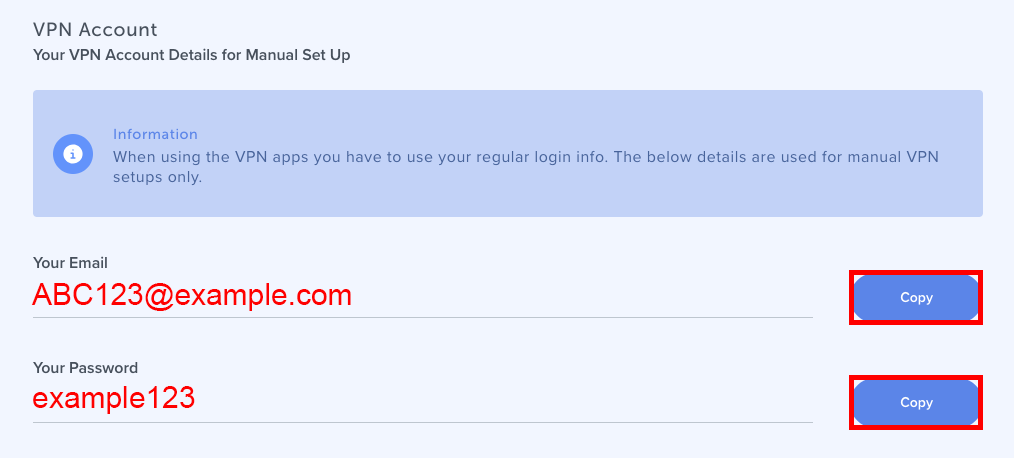
Find your Unlocator VPN account information
In order to set up an openVPN connection, you need to use a server configuration file , your username and password found in your Unlocator account under the VPN tab.
You can locate these pages by following these steps:
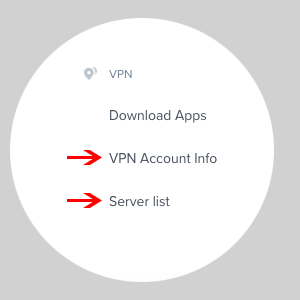
Go to My Account
Locate the VPN tab in the bottom-left corner of the page
Choose the server that you want to use and click on TCP or UDP OpenVPN Configuration file and the download will start. visit this page
You might want to keep these pages open so you could easily copy the info to be used in step 7.
2
Right-click on the downloaded file, and select Extract Here .
3
Launch Terminal and download OpenVPN Network Manager on Ubuntu by running the following command.
sudo apt-get install -y network-manager-openvpn-gnome
4
Click on the Network Manager icon in the menu bar. The icon may be in the shape of two arrows, a WiFi signal, or two computer screens.
5
Click Edit Connections .
6
Click the Add button.
7
Select Import a Saved VPN configuration from the drop-down menu.
8
Click the Create button.
9
Browse for the extracted archive and select any desired server config file, and then click Open .
10
Enter your Unlocator VPN username and VPN Pass (from Step 1
11
Click Save , and then Close on the next window.
12
Click on the Network Manager icon again, and then click on your newly created connection under VPN Connections sub-menu.
13
You will then be connected and will get a successfully established connection notification.
14
Navigate to http://whatismyipaddress.com to confirm that your IP and location have been updated.
Did this answer your question?
Thanks for the feedback
There was a problem submitting your feedback. Please try again later.